Efficient Solution. Efficient Shipping.
Ladder-In-A-Box lives up to its name with everything you need right in a box for fast, economical shipping — no freight company needed. Along with the ladder sections needed to achieve your desired length, standoffs, hardware, connectors and base brackets are also in the box so you can get right to the installation.
Safety Comes Standard
Ladder-In-A-Box gets your ladder system to you quickly without any sacrifice in quality.
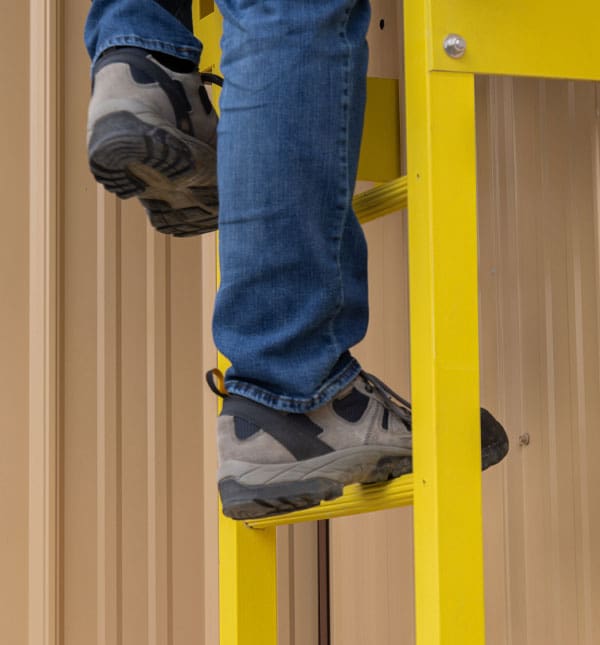
- Standard OSHA-compliant safety yellow is integrally pigmented
- Nonslip rung surfaces for added safety
- Meets OSHA requirements for load and design
- Won’t rust, rot, corrode or conduct electricity
- Made with flame-retardant resins and UV inhibitors
- Fall protection and walk throughs available for a complete system
Easy Assembly & Installation
Ladder-In-A-Box materials have high strength, yet they’re lightweight for easy handling at your installation site. No welding or special skills are need — ordinary tools are all it takes. The lengths can be easily combined and trimmed to achieve the exact height you need.
Assembly Instructions

To determine the height of your assembled ladder, decide where you want the top rung positioned and measure straight down to the floor.

If joining sections to achieve desired height: Insert and bolt the connectors into the bottom of each ladder section, except for the section that’s going to touch the floor.

If joining sections to achieve desired height: Slide the ladder sections together by inserting the connectors into the top of each ladder section; no bolts are needed since gravity will ultimately hold them together.
If not joining sections, skip steps 2 & 3.

Measure the overall ladder from the very top rung to the height you need and cut off any excess from the bottom where it’s going to touch the floor. Note that the top of the bottom rung must be between 2" – 14" to comply with OSHA standards. If needed, use the ladder extension kit to ensure the top rung height is correct and bottom rung height is OSHA compliant.

Stand up the ladder and mark the positions for the standoffs. The top standoffs should be placed just below the top rung; remaining standoffs should be spaced no more than 6' apart.

Drill holes in the ladder rails 1/16" larger than the supplied bolts, then secure the standoffs to the ladder. Torque the bolts to 60 in./lbs.; don’t overtighten.

With the ladder in its final position, install the anchor clips by placing them against the ladder rail and drilling through. Use a bolt to secure each clip. Use the anchor bolt to secure the clip to the ground.
If your system includes fall protection and/or walk-throughs, additional instructions will be provided.
Count On OSCO For All Your Safety Solutions
Along with ladders, OSCO is your complete resource for a variety of fiberglass-reinforced polymer (FRP) industrial safety products. Choose OSCO for ReadySeries materials, pultruded fiberglass grating, FRP molded grating and other FRP structures. We’re also your one-stop shop for utility markers, cathodic protection testing systems, marking flags and vinyl safety signs and decals.
Ready to Get Started?
Whether you simply need to replace a part or have a major project to start from scratch, our knowledgeable, experienced team is here to help.
Contact Me Get a Quote